INF 270: WordPress — Week 5: Setting up WooCommerce
Install WooCommerce
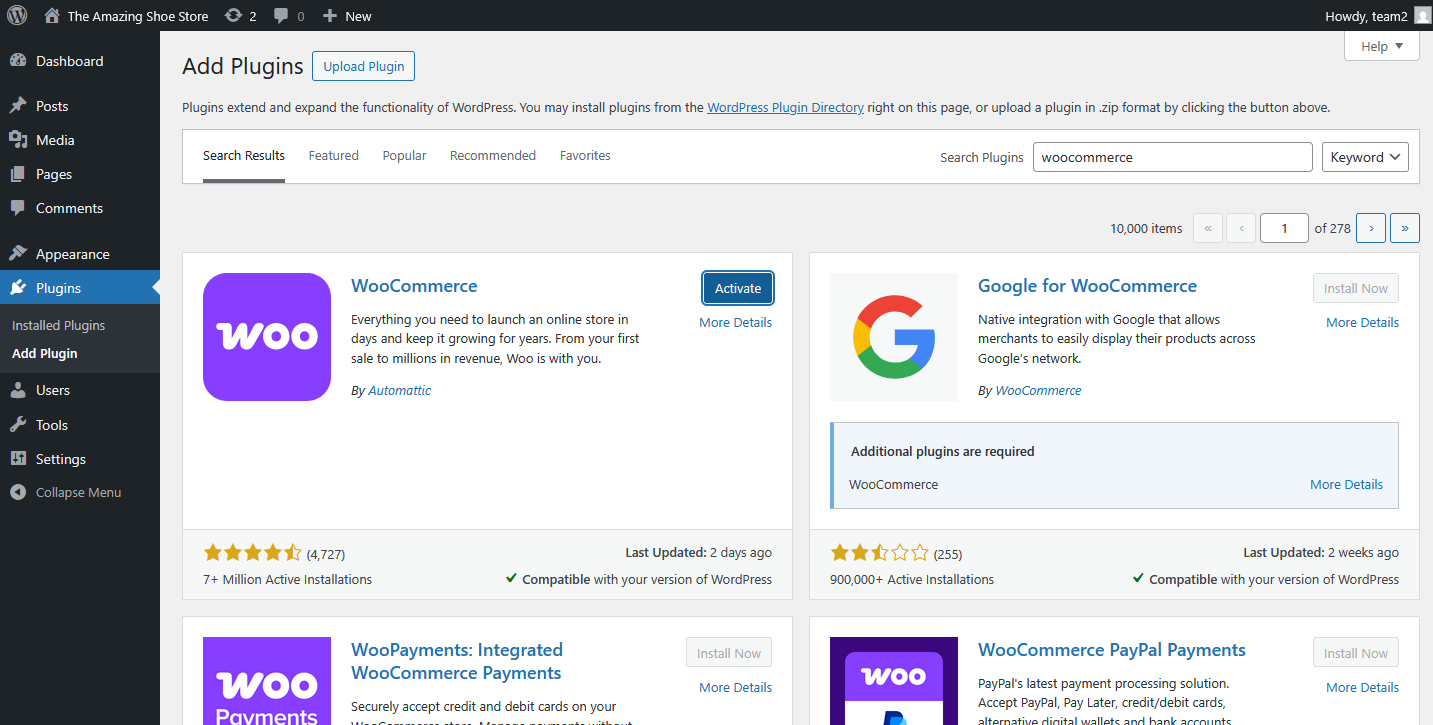
- Log into WordPress and navigate to "Plugins"
- Click "Add New" and search for "WooCommerce"
- Click "Install Now" and then "Activate"
Set up your Store
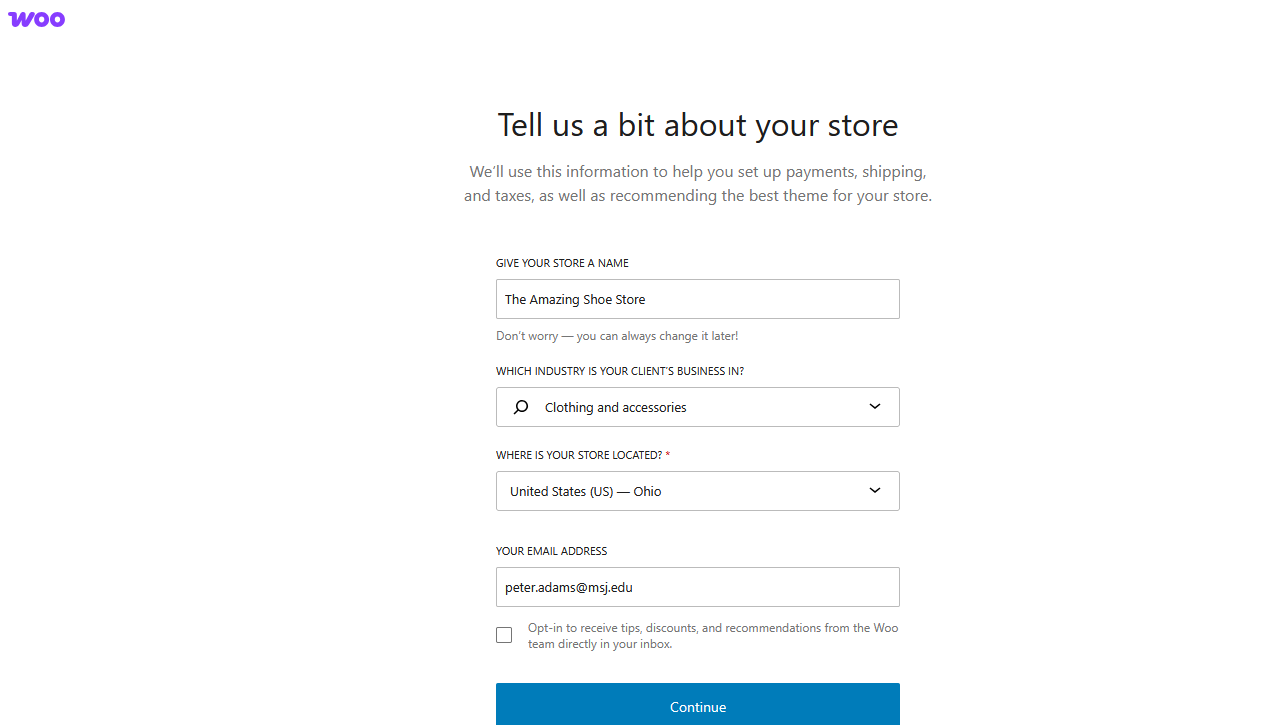
- Click the blue "Set up my store" button
- Under "Which one describes you" pick "I'm setting up a store for a client"
- Fill out the form - enter your store name, select an industry, and select Ohio for the location.
- On the "get a boost" screen, uncheck all of these optional features.
Add your products
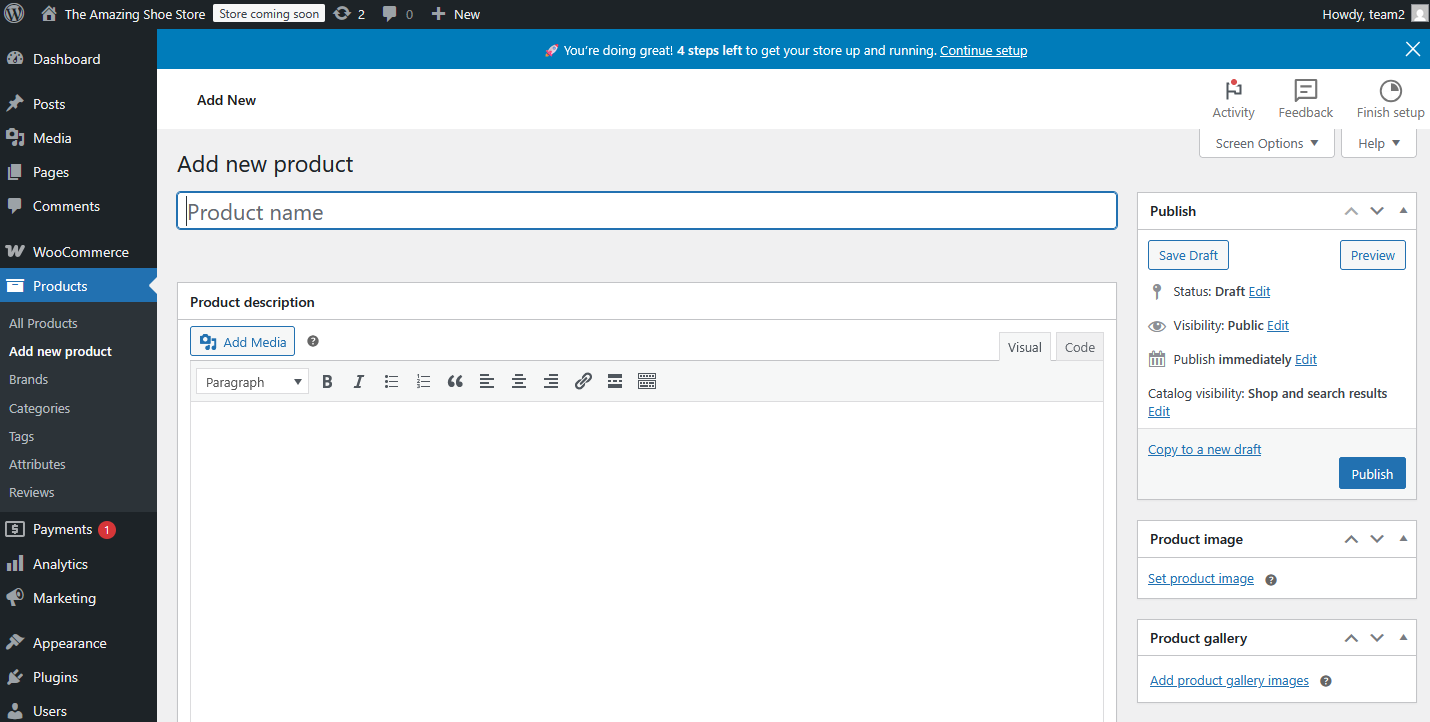
- On the left sidebar go to "Products" -> "Add New Product"
- Give your product a title and description.
- On the right sidebar, add a Product Image
- Scroll down to the Product Data panel. Make sure it says "Simple product" and then give your product a price (regular, not sale)
- On the right sidebar, under Product Categories, click "+Add New Category". Type in your category name and then click "Add new category"
- Make sure your new category is checked and "Uncategorized" is unchecked.
- Scroll up and click the blue "Publish" button
- Repeat two more times to create three total products.
Clean up your product categories
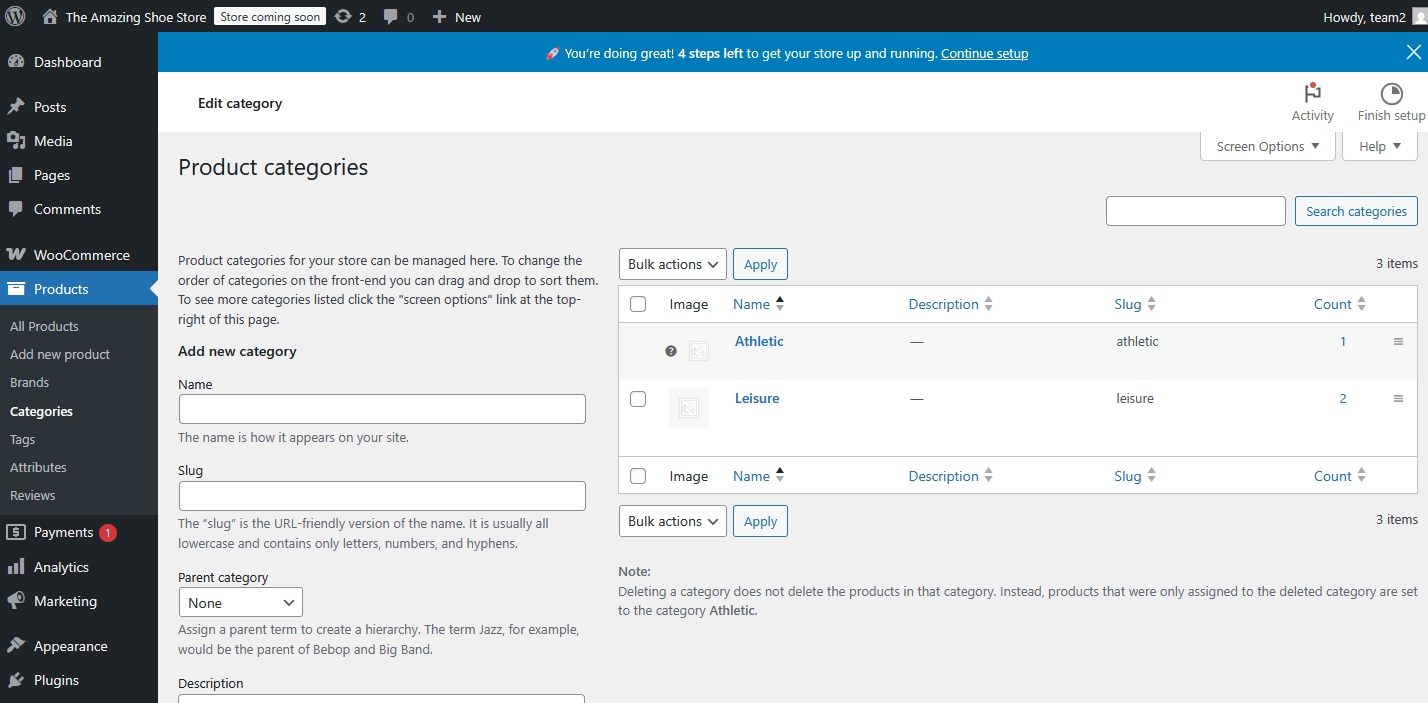
- Go to "Products" -> "Categories"
- Hover over one of the categories you just made and click "Make Default."
- Hover over the "Uncategorized" category and click "Delete."
Add the Shop page to your nav
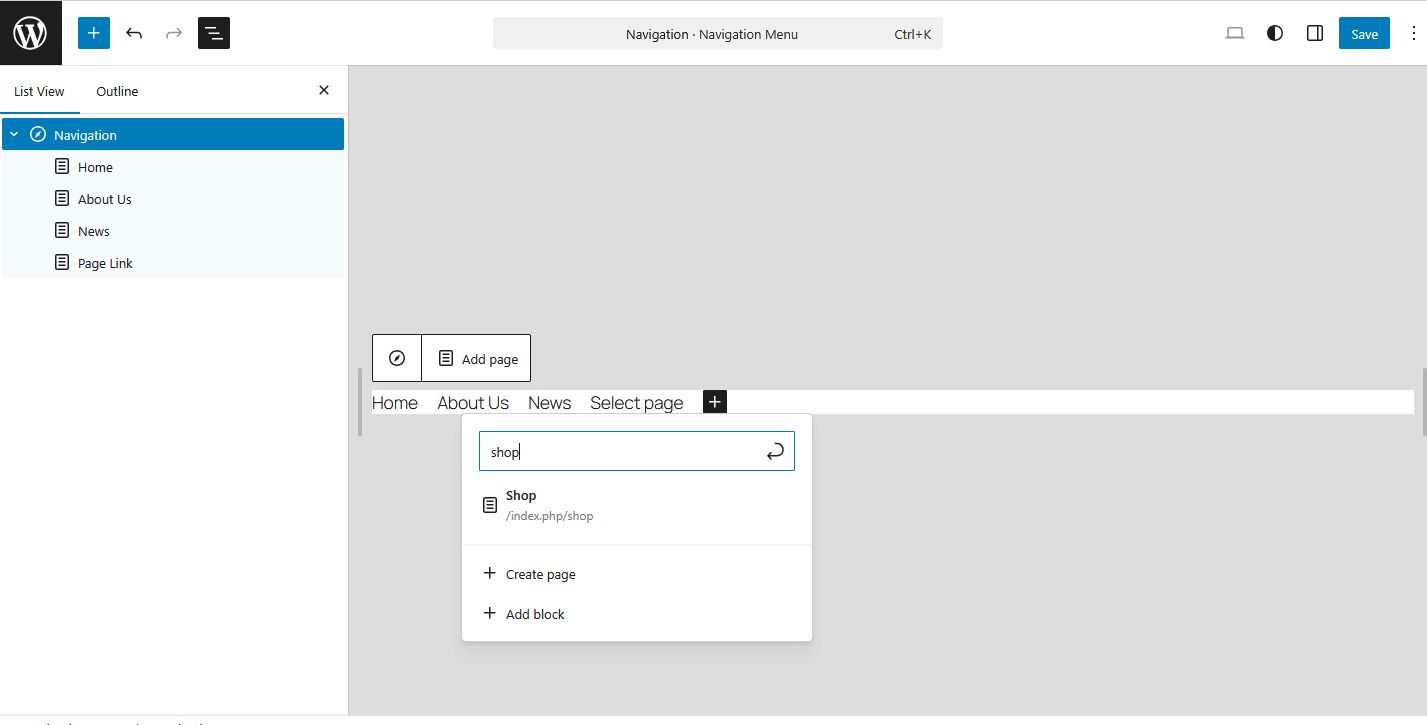
- Go to Appearance -> Editor
- Select "Navigation"
- Click the 3 dots at the top and select "Edit"
- Use the list view or directly in the block editor, add the Shop page to your navigation menu.
- Click "Save"
Check your Shop page on the frontend
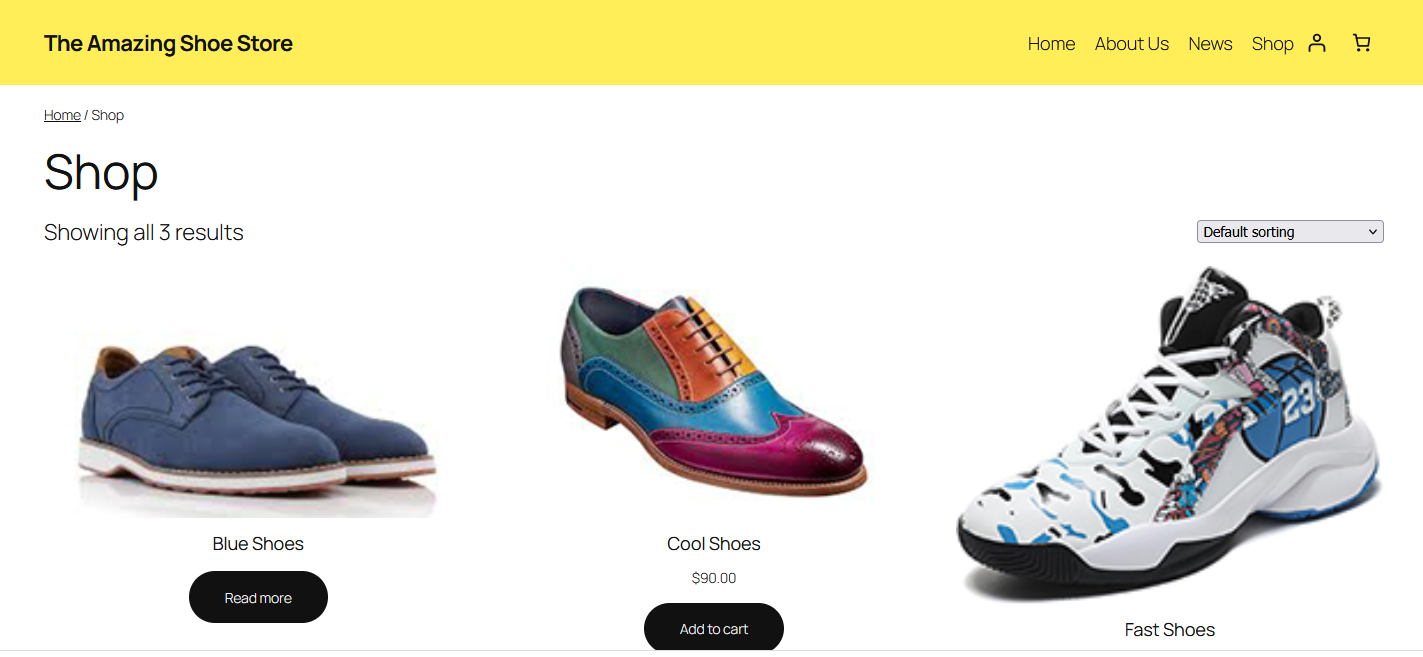
- Go to the frontend of your site and confirm the "Shop" menu item is showing up
- Navigate to your Shop page
- Add some products to your cart. If you notice any items that say "Read More" instead of "Add to Cart" it means you forgot to add a price.
- Click "View Cart" or click the cart icon in your nav to go to the checkout page.
- Notice the error message "There are no payment methods available." - we need to add a payment method.
Add Payment Method
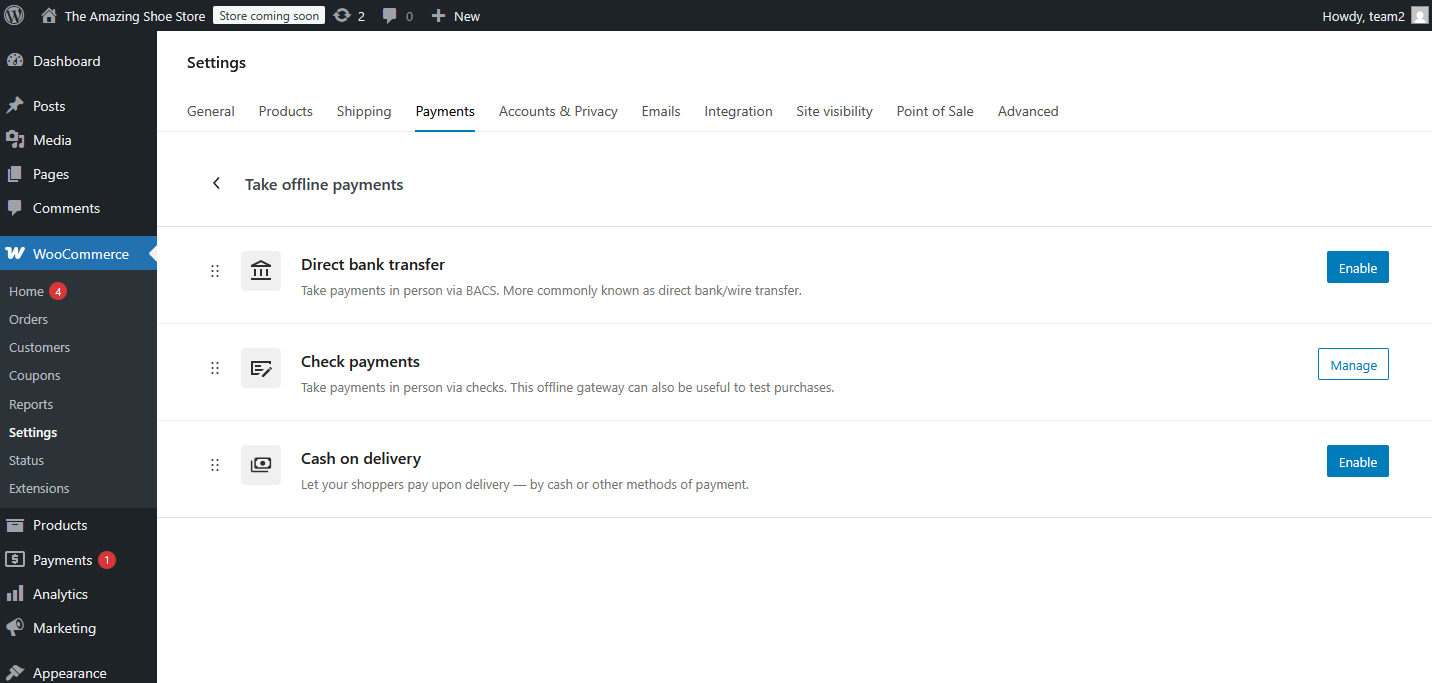
- In the backend, go to WooCommerce -> Settings.
- Click the "Payments" tab.
- Scroll down and click "Take offline payments" and then enable the "Check payments" option.
- Refresh your checkout page and continue checking out.